TYPESETTER
How to perform the Image Check
After an article is accepted, it will be forwarded to the responsible production editor via Scholar One. The production editor will then forward the article and some comments (if applicable) for typesetting. After the copy editing task you will receive an e-mail informing you about a new task in your Scholar One Typesetter Center. Once you‘re logged in to ScholarOne, please go to your Typesetter Center and click on Typesetter: image check - A [see Tasks ].
Here you can check the figure files according to predefined quality criteria.
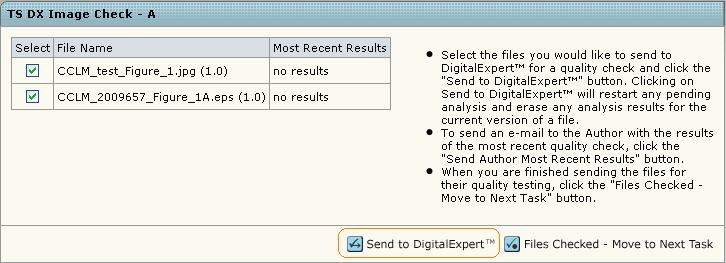
After clicking Send to Digital Expert the results should be shown after returning to this page in 30 seconds (Refreshing the page will re-send the request and not view the result). To view details of the Image Check results, please click on results (for each single figure file) or View Complete Analysis History. If there is a Warning or Failed result for some of the figures, you may forward it to the author by clicking Send Author Recent Results. The author will receive an e-mail about the result and can prepare a better figure version.
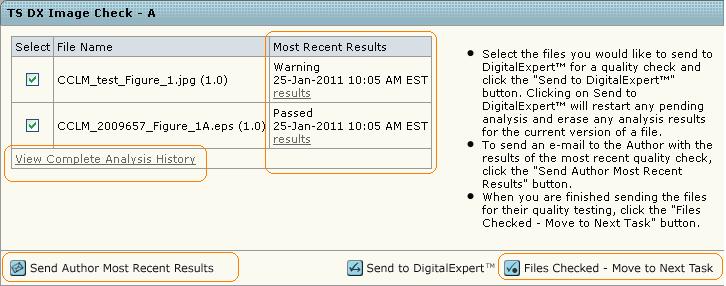
To finish the task or to check the figure quality with your own tools, please click Files Checked - Move to Next Task.
How to upload the proof PDF
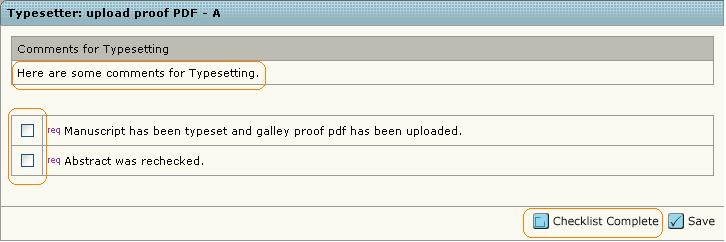
After the image check you‘re automatically forwarded to the task Typesetter: upload proof PDF - A. Here you will see the production editor‘s comments for typesetting. The manuscript should be downloaded [see How to download article files ], typeset and the proof PDF needs to be uploaded [see How to upload article files ]. Finally please return to the task tab above, make sure all tasks have been completed (To recheck the abstract and the other main article data, please go to the Manuscript Information Tab [see Manuscript Information ].), check the checkboxes and click Checklist Complete.
Afterwards you are forwarded to a task called Typesetter Galley Proof Determination. Here you‘re able to add some comments for the author. Finally, please always click on Send Back to Author to forward the proof PDF.

How to upload the corrected PDF
There are two possible proofing cycles: The first one is done with the author and the second with the production editor.
How to upload the 1st corrected PDF
After the author has returned his corrections, you will receive an e-mail informing you about the new task. In this e-mail you will find information on how the author sent her/his corrections. If the author did not upload the corrections within Scholar One using the File Designation Proof Correction, you should receive them via ordinary mail or fax. For this, please upload the corrections from the author to the system [see How to upload article files ].
Otherwise you should find the author‘s corrections as Proof Correction. If there is anything unclear within the author corrections, you are able to send the article back to the author. For this, please go to the task tab, enter your comment and click on Send Back to Author.
If all of the author corrections are clear, please correct the article, upload the corrected PDF as new minor version of the Main Document [see How to upload article files ] and click Finish.

How to upload the 2nd corrected PDF
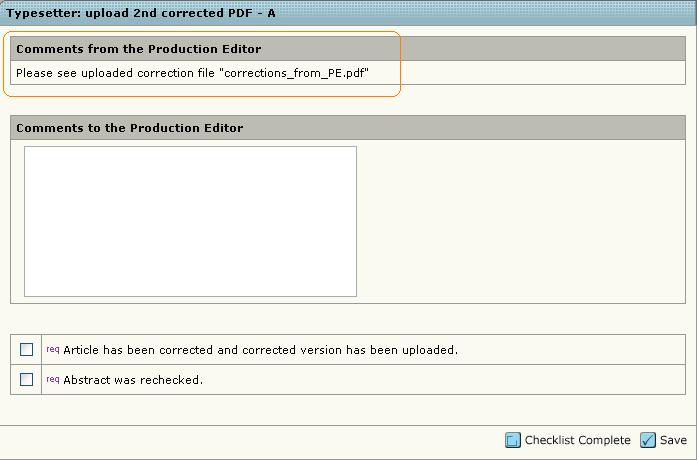
If there are corrections from the production editor you will find the article under the task Typesetter: upload 2nd corrected PDF - A. If you go to the task tab [see Tasks ] you will see the production editor‘s comment regarding corrections. Either s/he entered her/his corrections directly as a comment or uploaded them as Proof Correction.
After the article has been corrected, please upload the PDF as a new minor version of the Main Document [see How to upload article files ]. Finally please return to the task tab above, make sure all tasks have been completed (To recheck the abstract and the other main article data, please go ot the Manuscript Information Tab [see Manuscript Information ]), check the checkboxes and click Checklist Complete.
How to upload the final article version
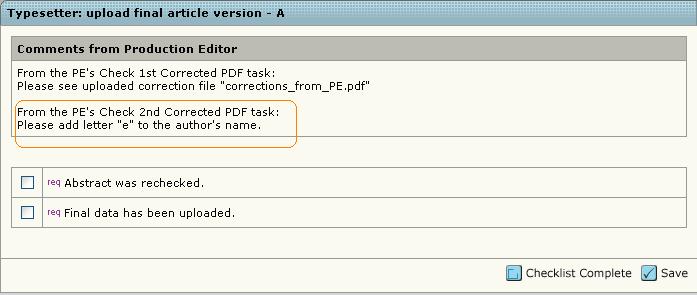
If the production editor still has corrections, s/he will enter them as comments or upload another correction file. Please correct the article according to this.
Please upload the final article version as new major version [see How to upload article files ]. Finally please return to the task tab above, make sure all tasks have been completed, check the checkboxes and click Checklist Complete.
How to send the final AoP data
If the production editor decides that the article should be published Ahead of Print (AoP), you‘ll find the article within the task Typesetter: send final AoP data - A. Please send the article for online publication.
If you‘re uploading the article directly, please always refer to specifications from our online host. If you do not prepare the article for online publication (that means creating an xml-file which includes the article meta data), please just upload the article as Ahead of Print - file to the.
Finally please return to the task tab above, make sure all tasks have been completed, check the checkboxes and click Checklist Complete.
